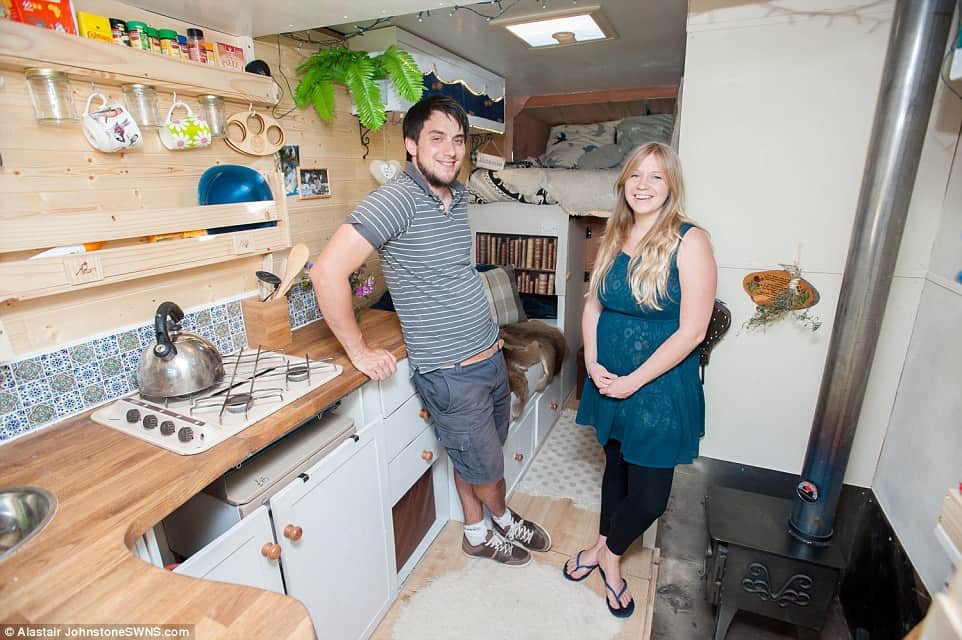
Adam Croft and partner Nikki Pepperell from Gloucestershire found the expense of renting a home too excessive.
Not able to afford to buy a house, the couple bought a £3,500 Ford Transit Luton van, and chose to convert it to a home.
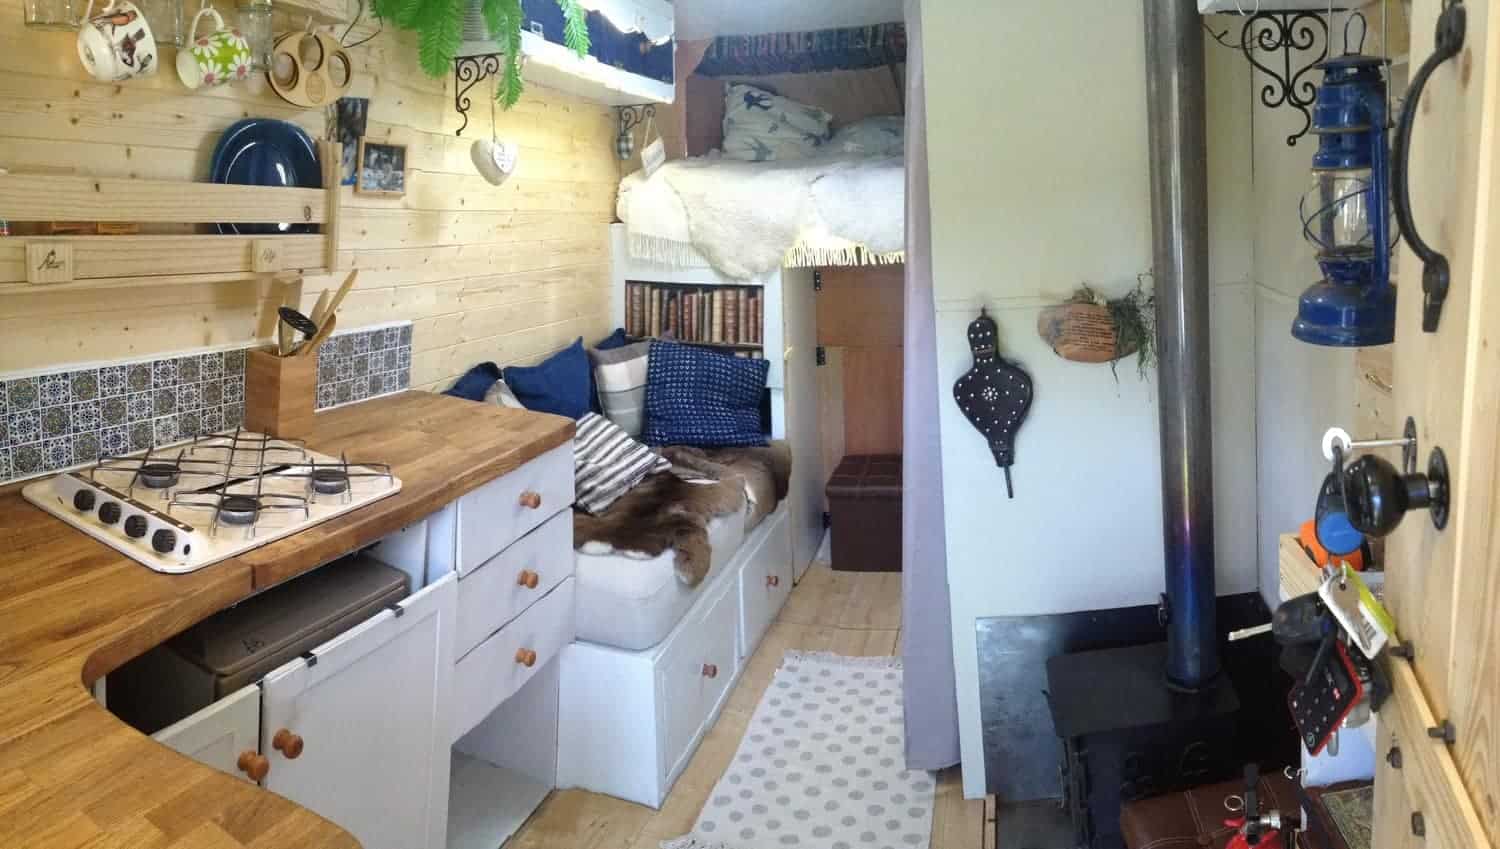
Following a year and £6,500-worth of rebuilding efforts, the couple live in the solar-powered van – which has all the comforts you’d expect in a home.
The following is commentary on the build process, by Adam Croft…
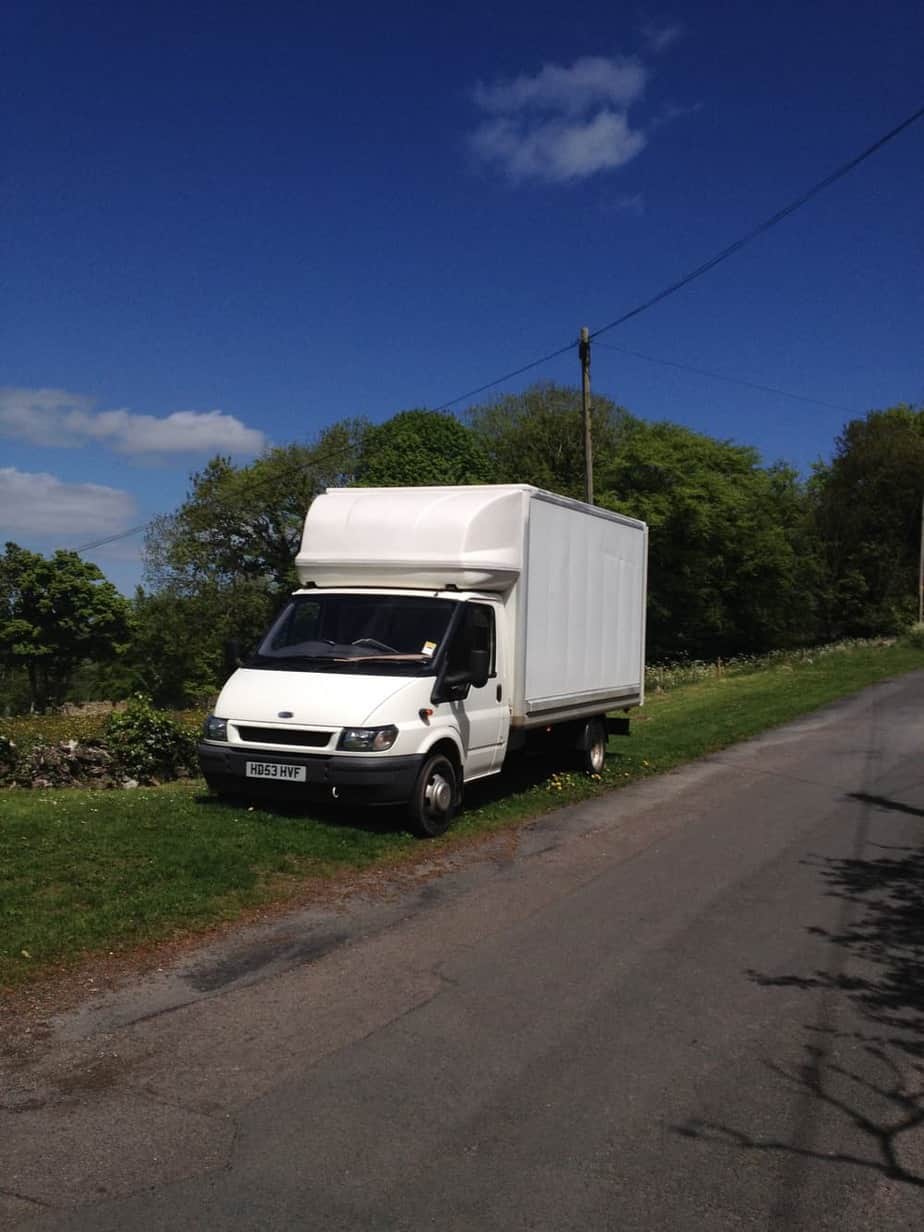
The Van
The van is a Ford Transit Luton Box van. We chose this van as it has a decent 2.5 litre diesel engine, parts are readily available worldwide and and is one of the largest vehicles you can drive on a regular driving licence.
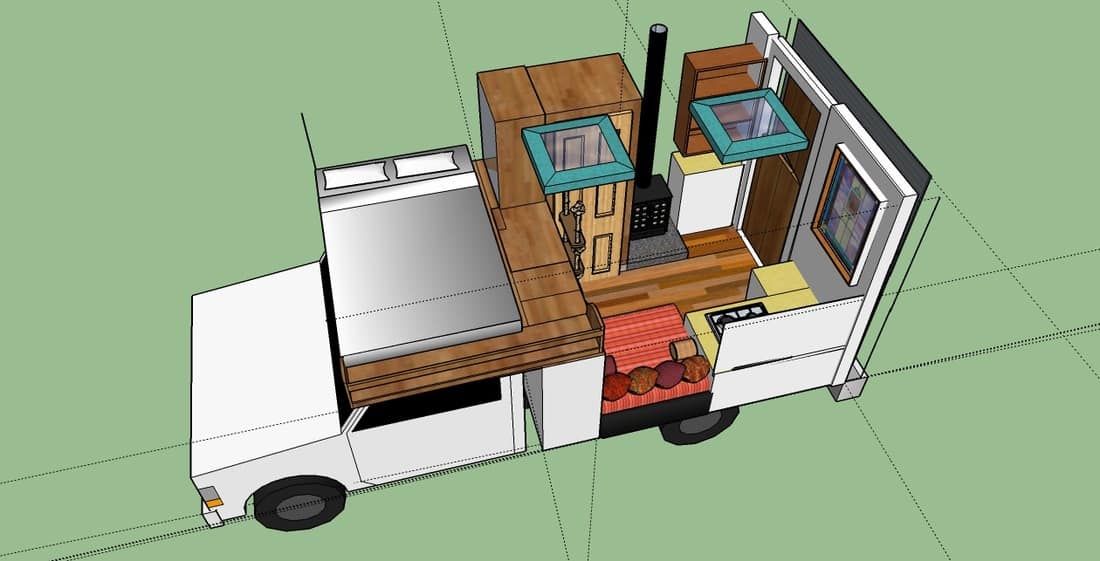
Design
I designed the van using Googles free 3D modelling program. We had a fairly decent idea of what we wanted to include. A decent sized kitchen, somewhere to relax, a bed, a stove and a shower/toilet.
Insulation
We opted for Kingspan type insulation on the floor with spray foam and silver tape covering the gaps and some decent silver foil type insulation on the sides and roof.
Roof
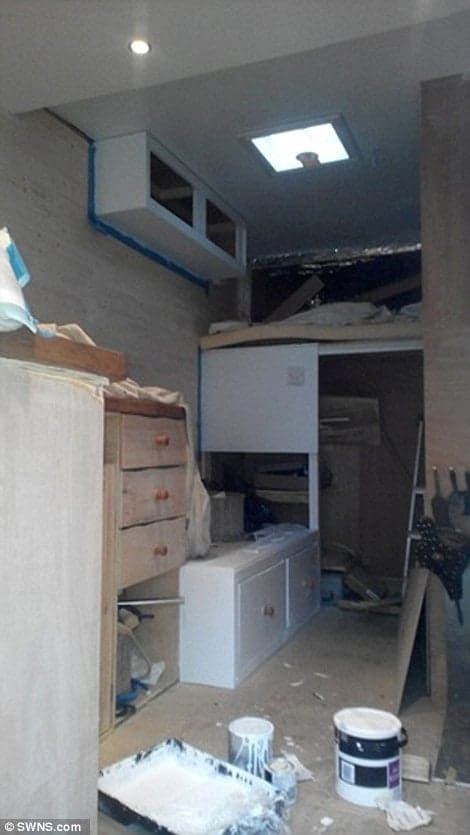
We had a massive struggle because we were doing quite a lot through the winter. We found we had leaks in the roof. We couldn’t get stuff on the roof to cure the leak because it was always raining. We also didn’t have a garage to store it in.
Eventually we got some dry weather, repaired the leaks and used RV roof coating paint to seal the roof and protect it from leaks and weather damage.
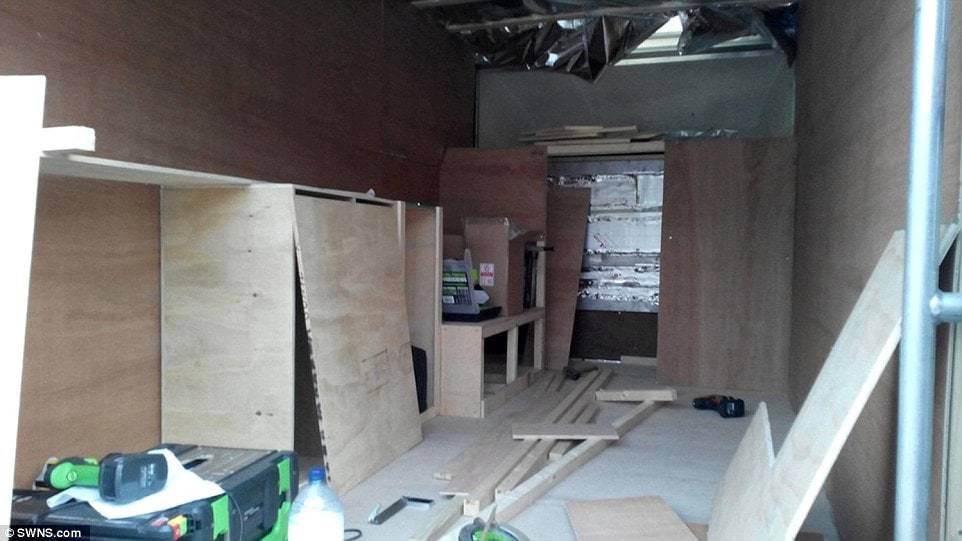
Walls & Floor
We fixed horizontal battens and thin sheets of ply to the walls. All this was then cladded over with thin pine boards to give the van a more homely feel. We sanded and stained the cladding with Danish oil for a nice finish. We managed to find a whole load of laminate floor boards in a skip. After a good clean up I simply cut and laid them down to fit. However, we might end up changing these to a vinyl floor at a later date to save on weight.
Windows
We wanted to keep the van looking as much like a normal van as possible from the outside so we decided to only have a skylight and window at the front. I was a bit nervous about cutting a big hole in the fibreglass roof to begin with, but once I got started it was fine. Its all stuck down using strong sikaflex adhesive. The window frame was made really simply with some battens and some polycarbonate sheeting cut to size.
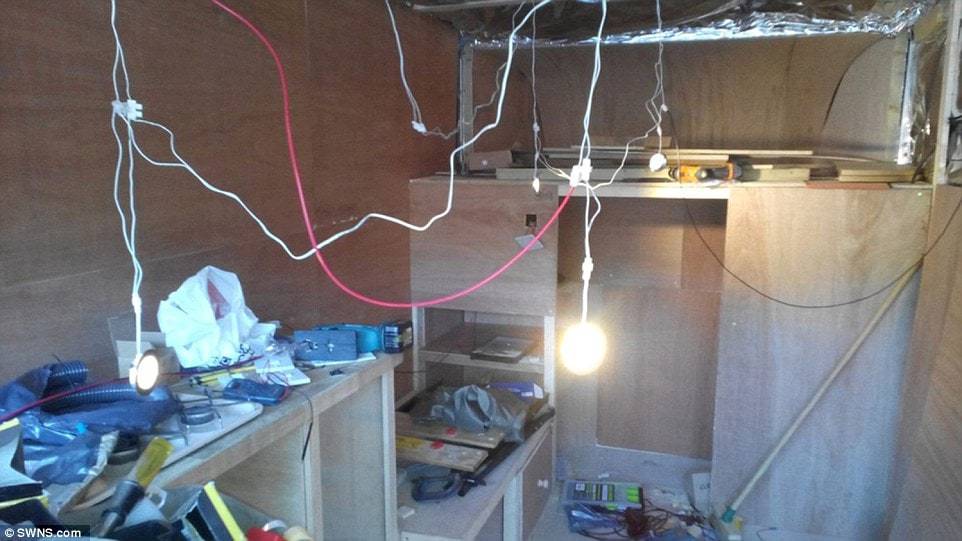
Electrics
I hadn’t done any electrics before this van project, but there is a wealth of information online. I opted for a simple 12v system. There’s 180 W solar panel on the roof that charges a 115Amp hour leisure battery through a charge controller. There is also a split charge relay system installed so that the battery charges when the vans driven. This all powers 4 LED lights, a water pump, some LED strip lights and a shower/toilet light, with plenty of juice to spare in case we want to install anything larger in the future. I have also added a 12v fridge that is linked to a timer so that it comes on for a couple of hours a day in the midday sun.
Water
The water is held in a 70L Fiamma tank. The waste water drains into a container that can easily be emptied. It is all powered by a 12v pressure operated pump (Don’t skimp here, I bought a cheap one from China off Fleabay to begin with but realised that you get what you pay for and opted for a more expensive Jabsco pump with an in-line filter). The water proved quite a headache for a while as I found the only place I could get the right fittings was through the internet. I found it tricky knowing which fittings I needed without having them in front of me. After a lot of trial and error I opted for a 12mm Push fit system. We decided that even though we had left room to run the pipes to the shower we would keep things simple and use a separate 12v pump and a bucket for the shower.
Heating
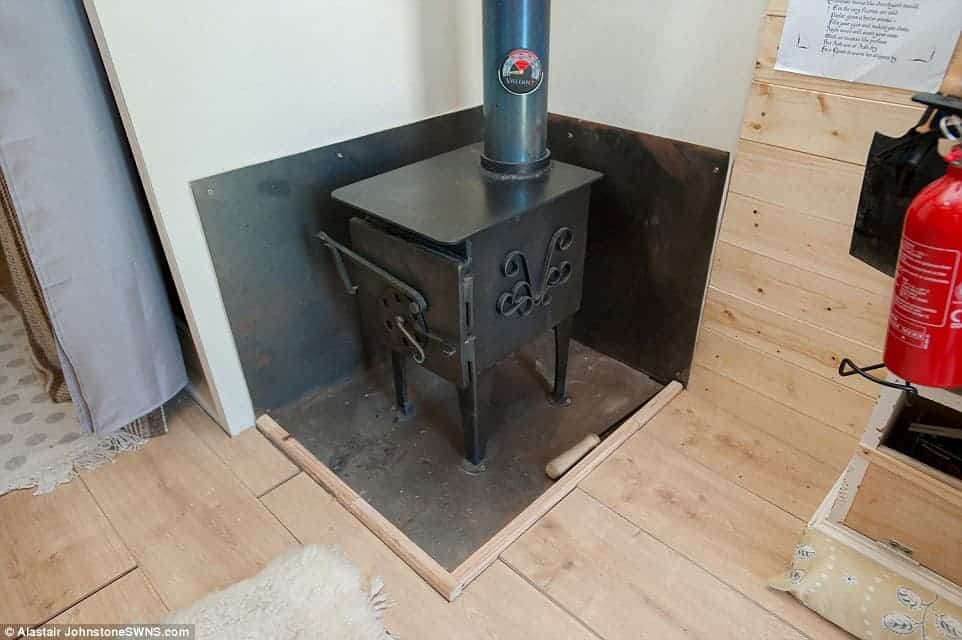
Heat was going to be essential for living full time in the van. As far as I could see it we had two options, to get a diesel heater or a wood-burner, and I’m a sucker for wood-burners!
We had a lovely little wood-burner made by Julian the Gypsy (Well known in the hippy community) It was small enough to fit nicely in the van, but also large enough to fit decent size logs in and heat it efficiently.
Fitting the wood burner wasn’t too difficult in the end. Basically it involved making a heat shield, cutting a hole in the roof for the flu and attaching a heat proof flashing.
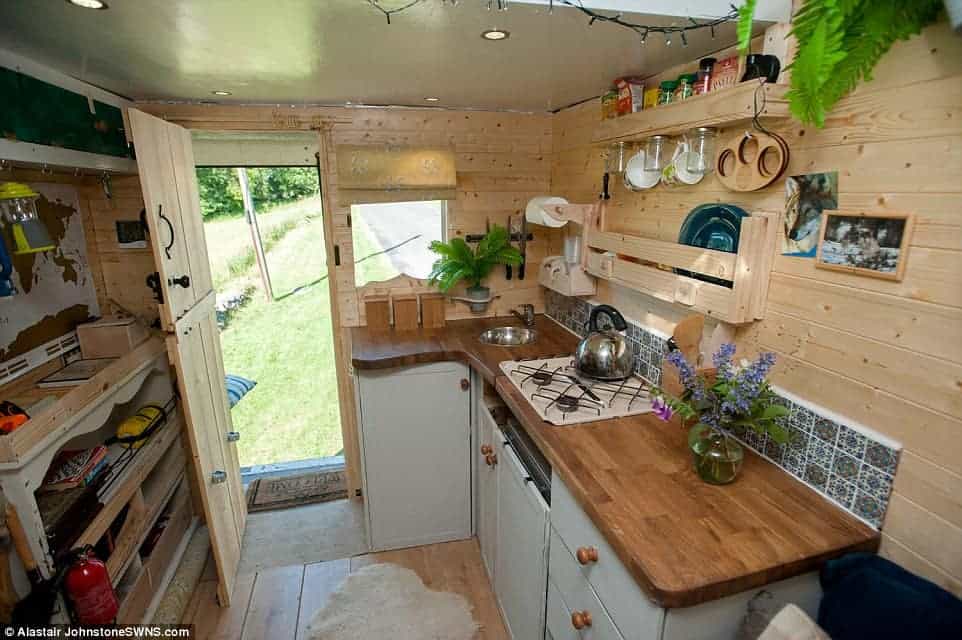
The Kitchen
I really enjoy cooking so it was important to us that we had room to store and cook food comfortably.
We decided to make everything in the kitchen ourselves and used Ply to make the cupboards, draws and doors. I hadn’t done much woodwork before but with a saw, some glue and a whole load of screws it turns out pretty much any-thing’s possible!
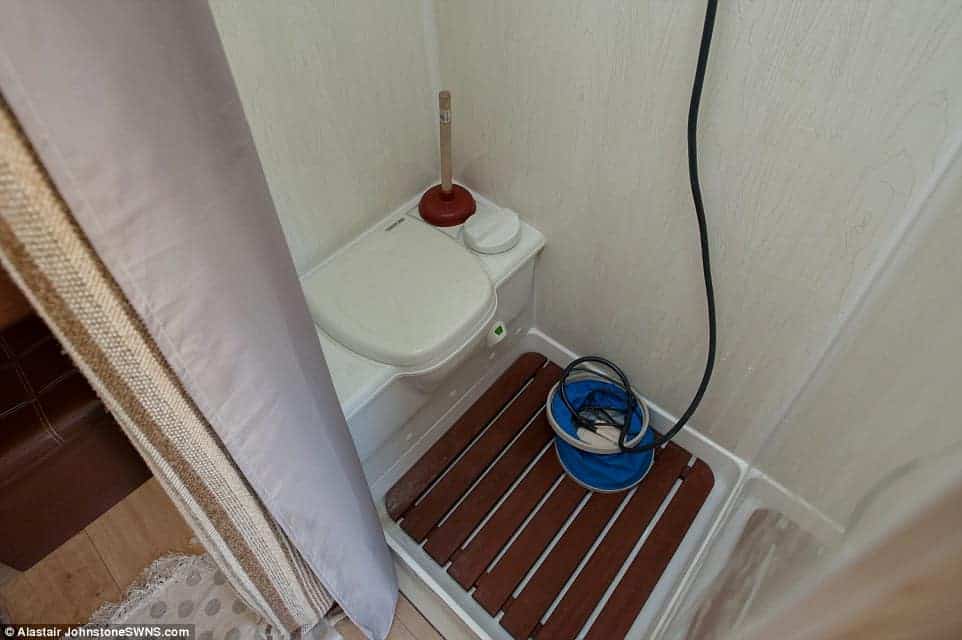
Toilet / Shower
I fitted the stud wall around the base of the toilet and shower for an exact fit. I then made a box out of ply to fit the shower tray and cut a hole in the floor for a pipe and drainage. The walls were then clad in PVC wood effect cladding and sealed with bathroom silicon. The shower is powered by a separate 12v pump that sits in a bucket of water that can be warmed up on the stove. The toilet is a cassette toilet that pulls out to be emptied when it’s full. We decided to keep the weight down and have a shower curtain instead of a door, using some left over copper piping to make a shower rail.
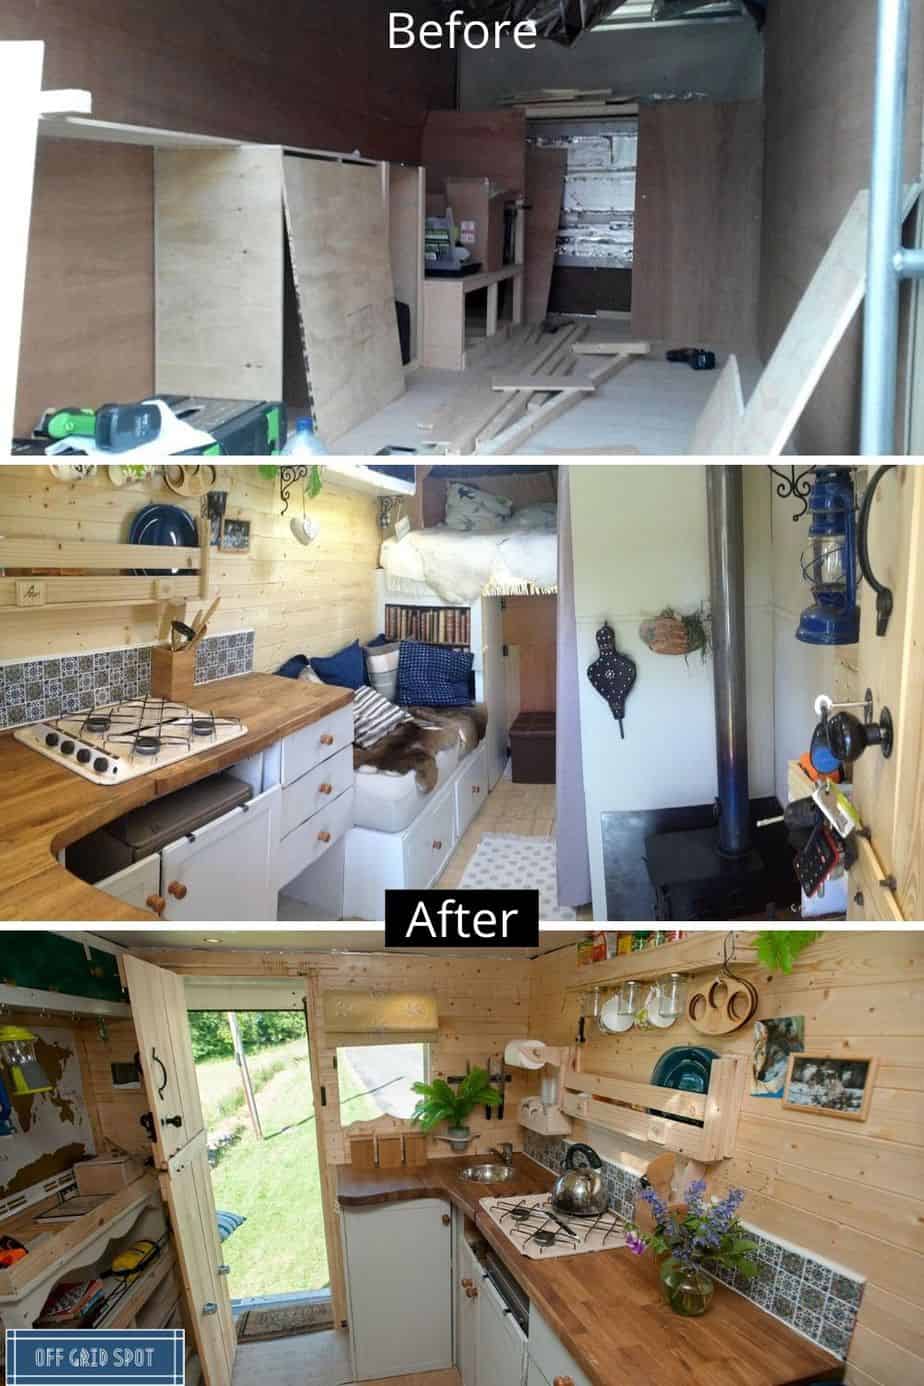
The Finished Van
Don’t be fooled into thinking this was an easy build. There were many moments when we thought we were mad for ever taking on the project and could have packed the whole thing in. There are also things I would have done differently if starting again, but hindsight is a wonderful thing and the project was a valuable learning experience if nothing else. My biggest piece of advice if you decide to start a similar project is to:
1) Start in the summer
2) Invest in some decent power tools
3) Make sure you go through a couple of plans before the build
4) DON’T by a van that has any leaks (This took up most of our time)
5) Be prepared to make mistakes, but don’t be afraid to try.
6) Now I’m all for recycling but don’t always try and save money by buying second hand equipment, especially anything to do with plumbing or electrics most the time it wont work properly and you end up paying the price as we found out on numerous occasions.
But we did it, it’s May 2015 and the van is finished. It took a lot longer than expected due to various reasons and A LOT more money than we anticipated. But we have a place to call home, and the adventure starts here!
Read also:
Save & Share the image below to Pinterest:

- 10 Best Pop-Top Camper Vans: Top Picks for Comfortable and Convenient Travel - November 6, 2023
- High Living: Discovering Stunning Tree Houses Around the World - October 9, 2023
- 10+ Ingenious Shuttle Bus Conversions (+Important Certification Requirements) - September 27, 2023